Roof leaks can cause indoor property damage. Fortunately, there are a variety of products available to help keep the weather out. Repairing roof leaks is straightforward, but determining the source of the leak may be difficult. Because water can flow along the undersides of beams and infiltrate through layers of roofing material, the damp patch may not appear exactly underneath the leak. Rather of jumping to conclusions, consider all possible reasons one by one.
Detecting leaks
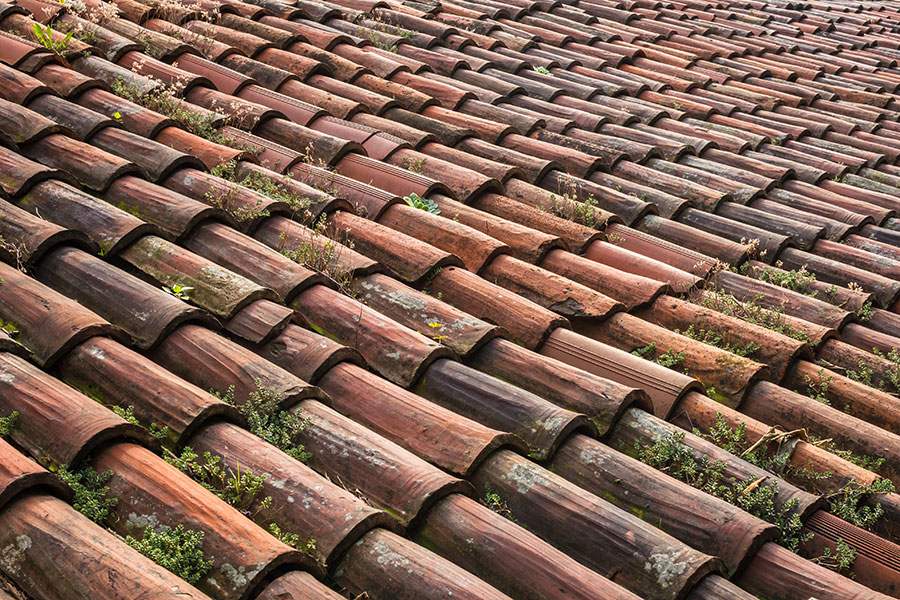
Leaks are very difficult to detect on a flat roof. Often, the only answer is to fully treat the roof with a waterproofing solution. On pitched roofs, identification should be easier because slipped slates and tiles may be recognised from the outside. Replace damaged tiles by carefully pulling them away from the nibs on which they are sitting. Inserting wooden wedges between the overlapping tiles might occasionally help. Examine your roof with binoculars once a year.
Leaks in chimney stacks are notoriously difficult to detect. The most apparent reason is rain seeping in from the top, but leaking flashings allowing rain in around the sides are also culprits. This, however, may not be the case. Wetness is typically caused by condensation within the flue. When this is discovered, a significant amount of time, effort, and money may have been spent on sealing the flashing and capping the pots.
Condensation
If moisture vapour from the residence is contained in an unventilated area, condensation will occur. This can occur in lofts, disused chimneys, or above flat roof ceilings. Flat roofs require enough ventilation to keep airborne moisture out of the region above the insulation and below the waterproof felt. Moisture accumulation generates wet areas on the ceiling and roofing felt blisters.
Disused chimneys must be evacuated through the bottom air intake and the top output. If this is not done, household moisture will enter the chimney and condense on the colder inside. As a result, moisture and soot are pulled into the brickwork, causing damp patches on the chimney breast. Pushing back the loft insulation to keep the loft ventilated generates a cold zone in the corner of bedrooms with sloping ceilings. In other cases, the short sloping region of the ceiling may have no insulation at all, giving it an ideal location for condensation to form. Improving ventilation with extractor fans or a dehumidifier is one means of reducing condensation.
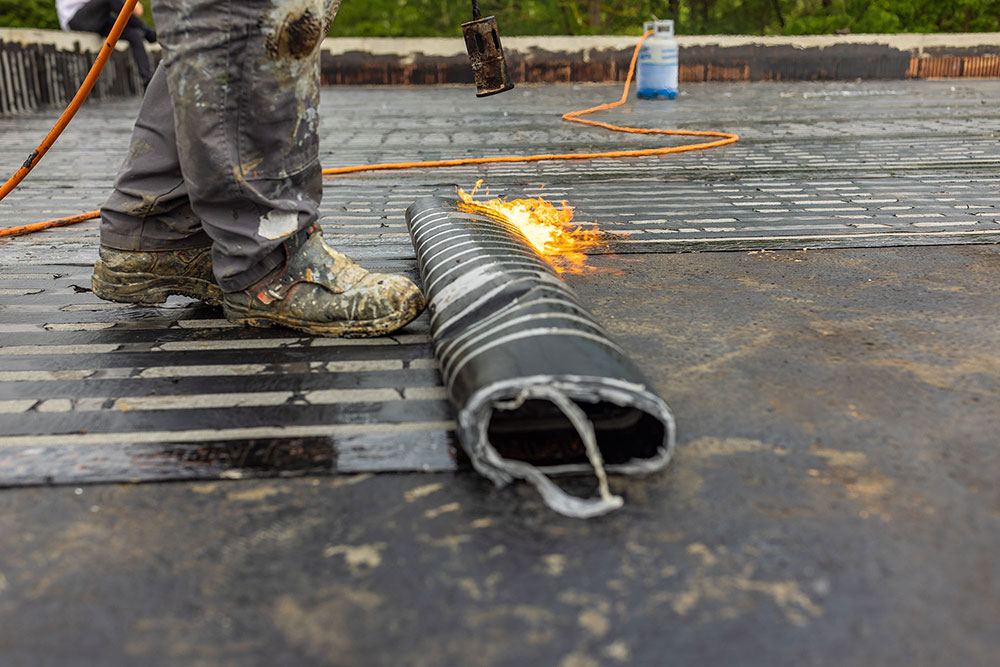
Flat felt roofing
Roofs should never be perfectly level. The water should drain quickly. Low spots and puddles Water will most likely leak through if it collects in one section of the roof. If you can’t cover the low parts with trowelling-grade mastic or raise it up with two or three layers of felt, put a small section of new roof over the old one. Apply a sheet of polystyrene bitumen to the existing felt. The top of the felt should be covered with plywood, and the felt should be put over the plywood. Ensure that the felt reaches at least 150mm down the sides and onto the roof. To apply the felt to the existing roof, use cold-lay adhesive or hot mastic.
Blisters
Leave tiny blisters on a flat roof that aren’t leaking alone and use a solar- reflecting coating to keep the surface cool throughout summer. If the felt has broken or looks to be on the verge of breaking, it must be repaired. Cut four diagonal lines in the felt to construct envelope flaps. Gently peel down the felt to uncover the below layer of roof decking. Apply a thick layer of felt glue to the cut edges and push them in, pressing away any excess. To fasten the flaps, use galvanised felt nails, also known as clout nails. When this layer is dry, apply more glue and cover it with a felt patch, covering the repair by 150mm on both sides. For a few days, place some slabs on it to help it cling. Flashing repair tape can be used to cover the flashing and link it to the vertical up stand. When installing it, make sure to apply enough pressure to remove any trapped air below.
Stopping heat damaging felt
Dark-coloured felt absorbs a lot of heat in the summer, and if the flat roof has insulation below, the heat will only escape upwards. White stone chipping is commonly used to reflect sunlight in order to mitigate this. The problem with chipping is that it can press through the felt and cause leaks if someone walks on the roof. Solar-reflective paint, which is specifically created for this purpose, is another technique of protecting the felt. A brush or a roller can be used to apply a single layer of paint. Solar-reflective paint will extend the life of any flat roof, whether or not it leaks.
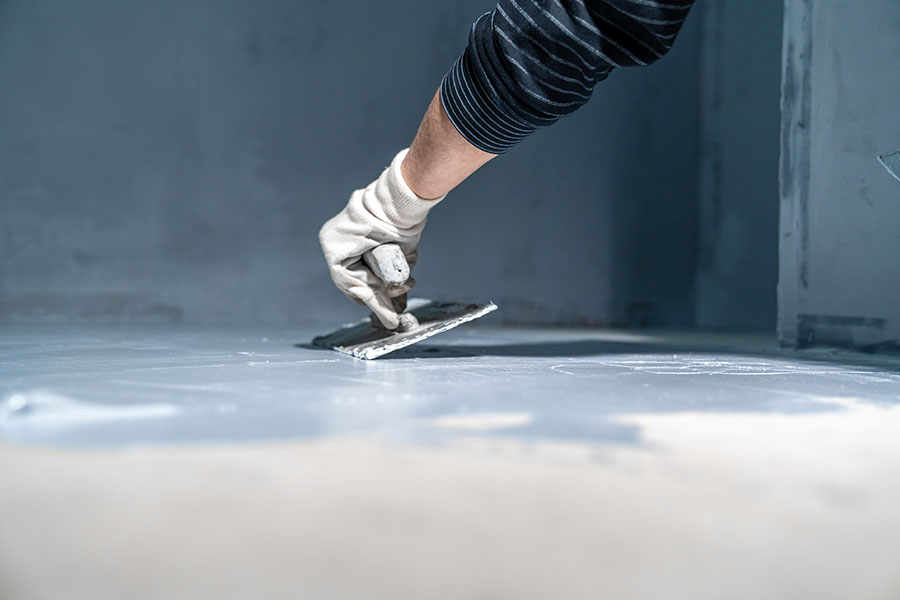
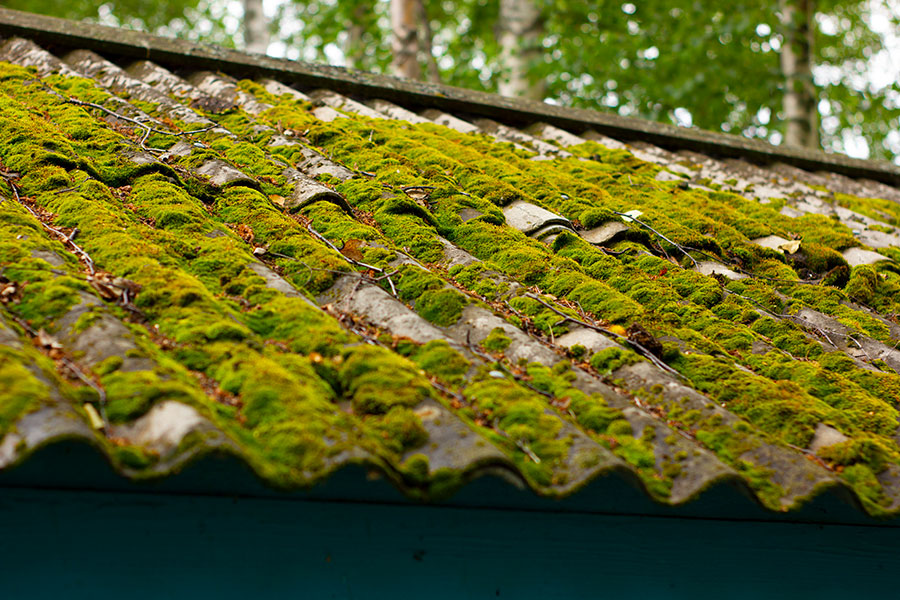
Applying waterproofer
Waterproofers are available in water-based emulsions for use in warm weather and solvent-based paints for use in cold weather or when it appears that rain may fall before the coating is completed. Use a fungicide and moss killer to eliminate any signs of algae and moss from the roof before applying waterproofer. Killing the roots might take many days. After sweeping the roof with a stiff broom, apply the first coat of waterproofer. When applying a bitumen emulsion, it is critical to periodically dip the brush in water to improve the flow. Once the first coat has dry, repeat the process in the other direction.
Laying new felt
When re-felting a part of your home, use a high-performance polyester felt. You may use less expensive traditional felts for felting a shed or garage. These are not applicable. To feel a roof, three layers of felt are customarily laid on top of each other. Each layer must start at the bottom of the roof so that the laps may be stepped in the appropriate direction to shed rain on the next sheet. Nailing preparation-layer felt produced expressly for this purpose should be used as the first layer over timber decking. Make sure the joints in each layer are not directly above one another.
They should be at least 150mm apart. On the second layer of felt, apply a continuous application of hot bitumen or cold-lay adhesive. Place felt strips over the top of the horizontal layer and up the wall where the roof meets a vertical wall. Then, insert a felt or flashing strip into a chiseled-out mortar seam in the brickwork. If you are unable to do so, cover it with mending tape.
Mastic sealants
Mastic sealants applied with a gun can be used to attach roofing felt edges and reseal flashings around chimneys. Make sure the surfaces to be adhered to are clean and dry. To wedge loose flashing, hammer small strips of lead into the brick courses. Fill up splits and gaps using flashing repair tape.
Using self-adhesive roofing felt
Install two layers of high-quality self-adhesive roofing felt. The heat from the sun helps to attach the felt to the ground once it has been laid. Make sure the surface is clean and dry. The roof board should be run on a slope to shed water. To protect the felt from flowing into an acute corner, use triangular wooden fillets along the edges of the walls.
Using a brush or roller, apply the sealer/primer to the roof board
Apply the first layer of felt to the roof once it has dried. To remove the backing paper, roll it back halfway and cut it. Gently crush the felt down as you remove the paper. After adhering the first half, adhere the second half, followed by the drip edge pieces. These will run off the edge of the roof and into the gutter. They should be folded upwards and fixed facing down to make a double thickness drip over a wooden batten. If you’re not sure how this is done, look at a few flat rooftops in your area.
After installing the drip edge, the top layer of felt may be placed down over the prior felt. The second layer connections should be staggered so that they are not in the same location as the first layer joins. Fill the granular surface with mastic if you’ve lapped felt over the green mineral treatment so the felt has an even bed to attach on.