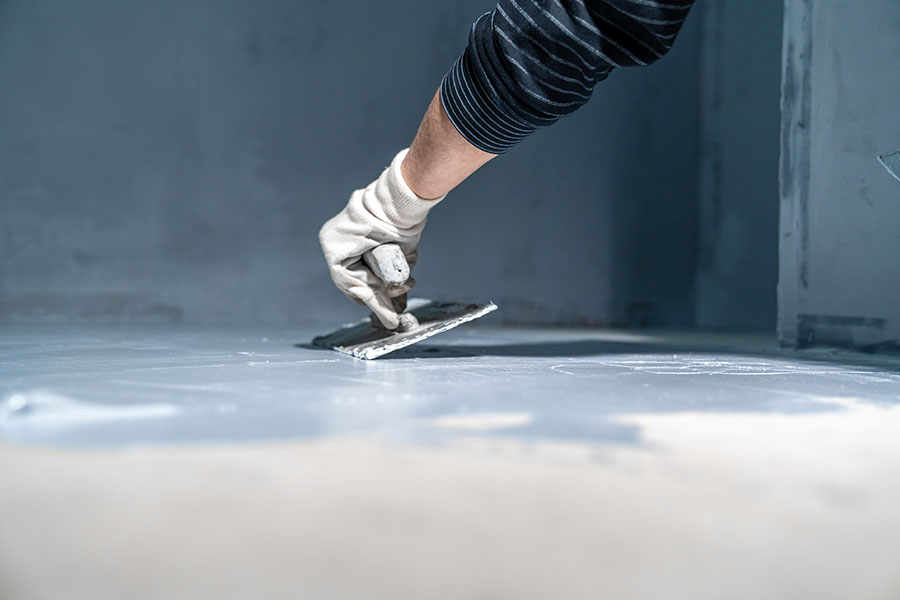
Finding a leaking pipe can be a nightmare, and it can lead to water damage in your home. When a pipe leak occurs, most people contact a plumber; however, if it is a little leak, you do not need to wait for a professional plumber to repair it. You might be able to do it yourself, or at the very least put a stop to it until it can be properly repaired. Here’s how to repair a leaky pipe step by step. DIY repairs should only be attempted if you are confident in your ability and have the appropriate materials.
Switch off the water supply
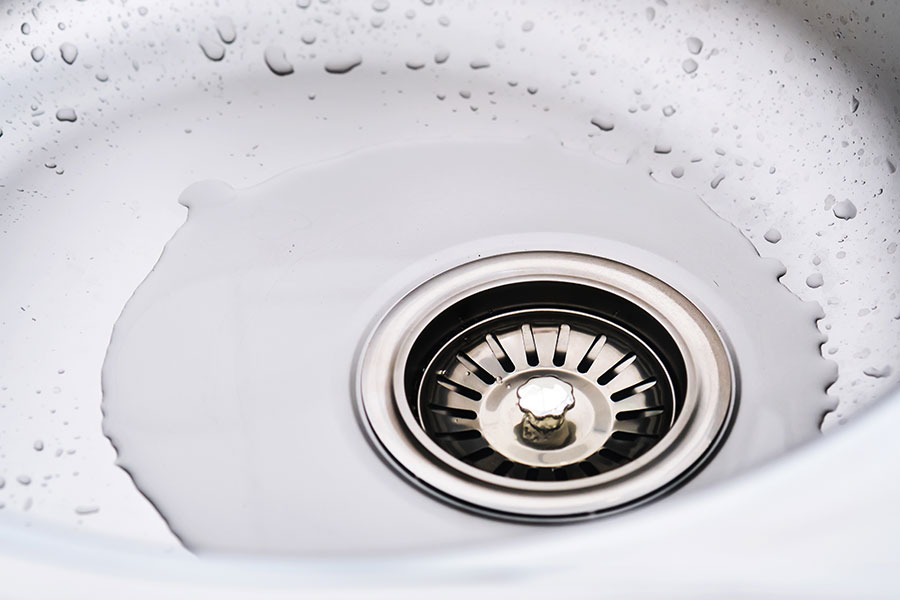
Before attempting to repair leaking pipes in your home, always turn off the water supply. This can be done at the water valve nearest to the leak or the stopcock, which is most likely under your kitchen sink. Normally, you can turn off the water supply with your hands, but a water valve may necessitate the use of a flat-head screwdriver.
Drain the faucets
Our second piece of advice is to remove all of the water from the leaky pipe properly so that you are not shocked by additional water. Turn on the pipe-fed faucets. You’ll know it’s gone when the water stops flowing from the faucets and pipe. To protect your floor, we recommend drying and covering the pipe with a cloth.
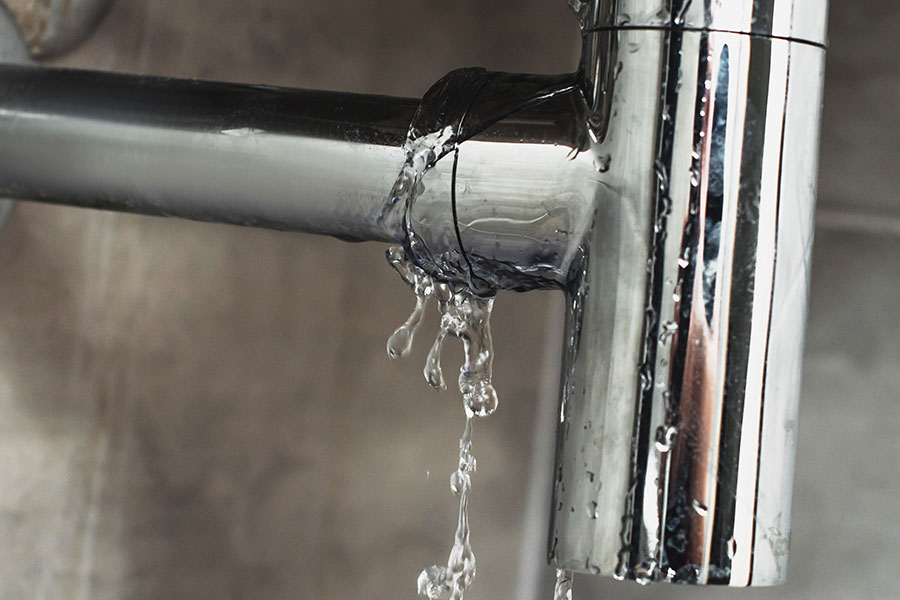
Determining the source of the leak
Different types of leakage necessitate different treatments. Examine the pipe to see if you can determine what is causing it to leak. Is that a sloppy joint? If the issue is simply a loose pipe connection, all that is required is to tighten it up. Some plumbing joints can be tightened by hand, but having a spanner on hand is recommended. Is the pipe leaking? Corrosion is most likely to blame for the pipe splitting. Pipes, on the other hand, can fracture if they are impacted by an object. The extent of the damage will determine whether or not the pipe can be repaired.
How to Repair a Leaking Pipe
If you need a quick, temporary fix for a leaky pipe in an emergency, we recommend gathering some waterproof duct tape. Make sure the pipe is totally dry before adding the tape. Wrap it tightly around the pipe until it is completely sealed. You might also try patching the crack using epoxy paste and rubber. Wait for it to set, and the leak should be stopped for the time being. Hardware stores sell pipe repair kits and self-tapping plugs. These are plugs that you can insert into the opening in your pipe and they will expand to fit. Allow at least an hour for the temporary fix to take effect before turning on the water.
How to Repair a Leaking Copper Pipe
Threaded pipes and copper fittings are prone to leaks. To avoid future problems or to repair an existing leak, we recommend sealing them with Teflon tape or water leak sealant. Wrap Teflon tape around the pipe in the opposite direction it will enter the fitting. Before applying, wipe the pipe with a clean rag. Place the end of the pipe leak tape on the second thread from the pipe’s end and secure it. Wrap the pipe in the opposite direction that it will enter the fitting with the tape. As you work, make sure the pipe leak tape is tightly wrapped and overlapped. Before breaking the tape, wrap it at least 4-6 times. Allow an hour before resuming water use. If you seal water leaks with a spray sealant in addition to plumber’s tape. The pipes will be more stronger.
Conclusion
Temporary treatments can, but do not have to, remain. Even if you successfully fix your pipe, if there is a problem, such as corrosion, it will leak again soon. A qualified plumber can evaluate your pipes and determine their current state. They’ll tell you whether any of your plumbing needs to be changed and how much it will cost. Avoiding a pipe leak is better to dealing with the inconvenience and expense of water damage caused by a busted pipe.